

3D printing has revolutionized the way creators and innovators bring their ideas to life. With its ability to transform digital designs into tangible objects, it opens up a world of possibilities for hobbyists and professionals alike. However, diving into the realm of 3D printing requires more than just a machine; it demands a solid setup to ensure successful prints.
Setting up a 3D printer can seem daunting, but with the right guidance, anyone can master the process. From choosing the right materials to calibrating the printer, each step plays a crucial role in achieving high-quality results. This article will explore the essential components of setting up a 3D printer, helping enthusiasts navigate their journey into this exciting technology.
Understanding 3D Printing
3D printing represents a revolutionary approach to manufacturing that transforms digital models into tangible objects. This technology has expanded creative boundaries for both individuals and industries alike.
What Is 3D Printing?
3D printing, also known as additive manufacturing, is the process of creating three-dimensional objects from digital files. It involves layering materials to build complex shapes, allowing for high levels of customization. Various materials, including plastic, metal, and resin, can serve as substrates, each benefiting from unique properties. Common 3D printing technologies include Fused Deposition Modeling (FDM), Stereolithography (SLA), and Selective Laser Sintering (SLS).
How 3D Printing Works
3D printing operates through a series of distinct steps. First, a digital model is designed using Computer-Aided Design (CAD) software. Next, the software converts the model into a format compatible with 3D printers, typically in STL or OBJ file formats.
Following this, the printer reads this file and begins the layering process. It deposits material layer by layer according to the specifications of the model. Each layer adheres to the previous one until the entire object is formed. After printing, post-processing may occur to enhance the object’s finish or strength.
Understanding these elements enhances the setup and operational goals, ensuring a successful 3D printing experience.
Essential Equipment for Setup 3D Printing
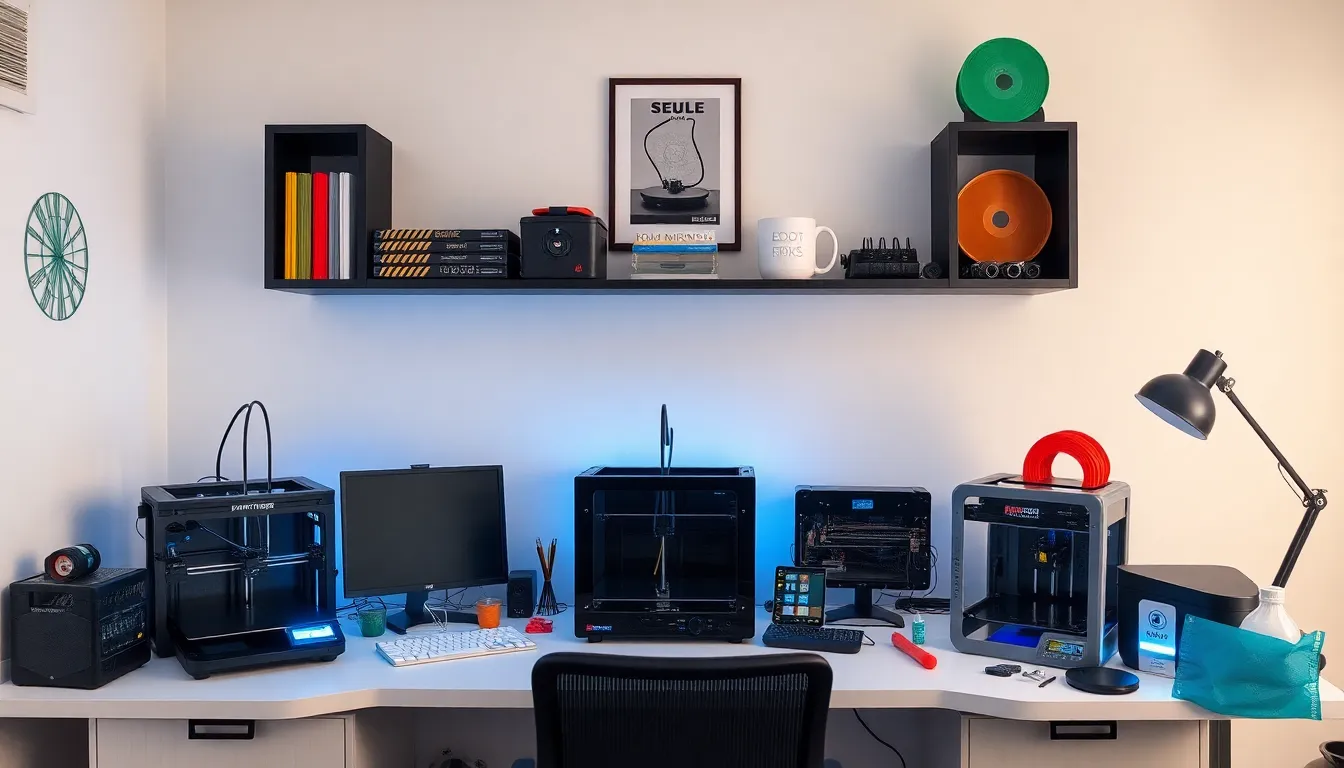
Successful setup of a 3D printer involves selecting the right equipment. Various printers and accessories enhance the overall experience and output quality.
Types of 3D Printers
- Fused Deposition Modeling (FDM): Utilizes thermoplastic filaments and heats them until they melt, allowing layers to build up. Popular for its affordability and simplicity.
- Stereolithography (SLA): Employs a laser to cure liquid resin into hardened plastic. Known for producing high-resolution prints with intricate details.
- Selective Laser Sintering (SLS): Uses a laser to fuse powdered materials like nylon or metal. Effective for creating durable and complex geometries.
- Digital Light Processing (DLP): Similar to SLA but utilizes a light projector for faster curing. Ideal for efficient production of high-quality models.
- Multi-Jet Modeling (MJM): Sprays layers of liquid material, rapidly solidifying with UV light. Achieves detailed multi-material prints with vibrant colors.
Required Accessories
- Build Surface: A quality build platform ensures proper adhesion of the model during printing. Options include glass, PEI sheets, and blue painter’s tape.
- Filament Storage: Proper storage preserves filament quality, preventing moisture absorption. Vacuum-sealed bags or airtight containers serve this purpose.
- Calibration Tools: Tools like digital calipers and leveling kits ensure accurate printer setup. Regular calibration enhances print precision and consistency.
- Post-Processing Tools: Items such as sanders, cutters, and solvents assist in refining finished prints. These tools help achieve a smooth, polished look.
- Safety Equipment: Gloves, goggles, and masks protect users during printing and post-processing. Safety gear remains essential when handling resin and tools.
Equipping oneself with the right types of printers and accessories ensures a successful 3D printing setup, enhancing the quality and satisfaction of the user experience.
Preparing for Setup 3D Printing
Preparing for 3D printing involves careful consideration of materials and workspace organization. The following subsections provide essential details for a successful setup.
Choosing the Right Material
Selecting the appropriate material is crucial for achieving high-quality prints. Various options exist, including:
- PLA (Polylactic Acid): Ideal for beginners, it’s biodegradable, easy to print, and provides good detail.
- ABS (Acrylonitrile Butadiene Styrene): Known for its strength and durability, it requires a heated bed and good ventilation due to fumes.
- PETG (Polyethylene Terephthalate Glycol): Combines the ease of PLA and the durability of ABS, making it versatile for various applications.
- Nylon: Strong and flexible, suitable for functional parts, but it requires specific printing conditions.
- Resin: Used in SLA printing, it offers excellent detail but involves post-processing and safety precautions.
Understanding the properties of each material helps users make informed choices based on project requirements.
Setting Up Your Workspace
Organizing a dedicated workspace enhances the 3D printing experience. Key considerations include:
- Space Requirements: Ensure ample room to accommodate the printer and materials while allowing for safe movement and operation.
- Environmental Control: Maintain a stable temperature and humidity level to prevent warping and improve adhesion.
- Lighting: Use sufficient lighting to monitor prints effectively and enhance visibility during setup and adjustments.
- Safety Measures: Equip the workspace with appropriate ventilation for materials like ABS and ensure safety gear, such as gloves and goggles, is readily available.
- Accessibility to Tools: Keep calibration tools, cleaning supplies, and filament within reach to streamline the printing process.
An organized workspace sets the foundation for a smooth and efficient 3D printing operation.
Step-by-Step Guide to Setup 3D Printing
Setting up a 3D printer requires attention to detail and a clear sequence of steps. This guide details the key steps needed for a successful setup.
Initial Printer Setup
- Unbox the Printer: Carefully remove the printer from its packaging. Check for all parts and accessories listed in the manual.
- Assemble Components: Follow the manufacturer’s instructions to assemble the printer. Ensure all screws and fittings are tight.
- Level the Build Platform: Adjust the build plate to ensure it’s perfectly level. Use a piece of paper to check the distance between the nozzle and the bed.
- Install Filament: Load the chosen filament according to the manufacturer’s guidelines. Make sure it’s feeding correctly into the extruder.
- Connect to Power and Network: Plug in the power supply and connect the printer to a Wi-Fi network, if applicable.
- Run Initial Test Print: Use the test print feature to verify that the printer operates correctly. Inspect the print for any issues.
Software Installation and Configuration
- Download Software: Obtain the latest version of the slicing software compatible with the printer. This software converts 3D models for printing.
- Install Software: Follow installation prompts to set up the slicing software on the computer. Ensure antivirus settings allow installation.
- Configure Printer Settings: Input specifications such as nozzle diameter, bed size, and filament type. Adjust print settings based on the material’s requirements.
- Load 3D Model: Import the desired 3D design into the slicing software. Verify the model’s integrity and scale.
- Slice the Model: Use the software to generate G-code. This code directs the printer on how to create the object layer by layer.
- Transfer G-code to Printer: Save the G-code file to an SD card or send it directly to the printer over a network connection.
Following these steps ensures a successful and efficient 3D printing setup, laying the groundwork for quality prints and enjoyable experiences.
Troubleshooting Common Setup Issues
Setting up a 3D printer can bring about several challenges. Troubleshooting common issues ensures a seamless printing experience.
Connectivity Problems
Connectivity issues may arise during the setup of a 3D printer. Ensure the printer is properly plugged into a power source and that all cables are secure. Verify that the printer’s Wi-Fi settings match the home network’s specifications. If using USB, check that the cable is functioning correctly and try different ports on the computer. Restarting both the printer and the host device can resolve numerous connectivity issues. Additionally, ensure any required drivers are installed on the computer for smooth communication between the devices.
Calibration Challenges
Calibration is crucial for achieving quality prints; improper calibration leads to print defects. Begin by leveling the build platform, ensuring it’s even from all angles. Use a piece of paper to check the nozzle height above the bed. Adjust the height until there’s slight resistance when moving the paper. After leveling, calibrate the extruder to ensure accurate filament flow. This can involve measuring and adjusting the steps per millimeter of the extruder. It’s advisable to run test prints to fine-tune these settings for different materials and achieve optimal print quality.
Setting up a 3D printer is a vital step for anyone looking to explore the world of additive manufacturing. By understanding the necessary equipment and materials users can create high-quality prints that bring their digital designs to life. An organized workspace and proper calibration play crucial roles in ensuring a smooth printing process.
With the right knowledge and tools users can troubleshoot common issues and enhance their printing experience. Whether for personal projects or professional applications mastering the setup process lays the foundation for successful 3D printing. Embracing this technology opens up endless possibilities for creativity and innovation.


