Installing a motherboard might sound like a task reserved for tech wizards or mad scientists, but it’s actually more approachable than it seems. Picture this: you’ve got a shiny new motherboard in front of you, and with just a little guidance, you can transform your computer from a mere box of parts into a high-performance machine.
Table of Contents
ToggleTools You Will Need
Installing a motherboard requires certain tools to ensure a successful setup. Having the right equipment makes the process easier and more efficient.
Essential Tools
- Screwdriver: A Phillips head screwdriver is crucial for securing the motherboard to the case.
- Anti-static wrist strap: This helps prevent damage from static electricity during the installation process.
- Tweezers: Tweezers assist in handling small screws and connectors, especially in tight spaces.
- Cable ties: These keep cables organized and out of the way, enhancing airflow within the case.
- Thermal paste: Effective for ensuring optimal heat transfer between the CPU and its cooler.
Optional Tools
- Pliers: Pliers are useful for gripping and bending cables or connectors as needed.
- Flashlight: A flashlight provides illumination when working inside a dark case.
- Magnifying glass: A magnifying glass can help identify small components and connections accurately.
- Multimeter: A multimeter checks power supplies or voltage for troubleshooting issues.
- Escare wrench: An escare wrench aids in tightening helix screws on some models.
Preparing Your Workspace
Preparing the workspace ensures a smooth motherboard installation process. A clean and organized area minimizes distractions and prevents component damage.
Choosing a Clean Area
Select a flat surface free from clutter. A table or desk provides ample space for tools and components. Good lighting enhances visibility, making it easier to read manuals and find small parts. Avoid areas with static electricity, as it can damage sensitive components. An anti-static mat can help create a safe environment for the installation.
Organizing Your Components
Group all necessary components for easy access. Place the motherboard, screws, and cables in designated areas. Keep tools readily available, like the Phillips head screwdriver and anti-static wrist strap. Utilize small containers or trays to sort screws and connectors. Label components to streamline the installation process. This organization minimizes the time spent searching for items, allowing for a more efficient assembly.
Installing the Motherboard
Installing a motherboard involves several critical steps for a successful assembly. Each phase requires attention to detail to ensure proper function and performance.
Attaching the I/O Shield
Attaching the I/O shield occurs first. This metal panel protects ports from dust and electromagnetic interference. To install, align the I/O shield with motherboard ports before inserting it into the case. Ensure a snug fit in the designated opening at the back of the case. If the shield aligns poorly, adjust it gently to avoid bending or damaging it.
Securing the Motherboard
Securing the motherboard follows the shield installation. Position the motherboard within the case and align it with mounting holes. Using a Phillips head screwdriver, insert screws into each hole that corresponds to the standoffs. Tighten the screws firmly but avoid overtightening, as this may crack the motherboard. Confirm that the motherboard sits flat against the standoffs, preventing any contact with the case.
Connecting Power Supply Cables
Connecting power supply cables is essential for providing power to the motherboard. Start with the 24-pin ATX connector, which delivers primary power. Insert it into the designated port on the motherboard until it clicks into place. Next, connect the 4-pin or 8-pin CPU power cable, ensuring a secure fit. Additional components may require connections, such as SATA cables for storage drives. Organize the cables neatly to promote airflow and ease potential future upgrades.
Testing the Installation
Testing the installation involves checking connections and powering on the system to ensure everything functions correctly.
Verifying Connections
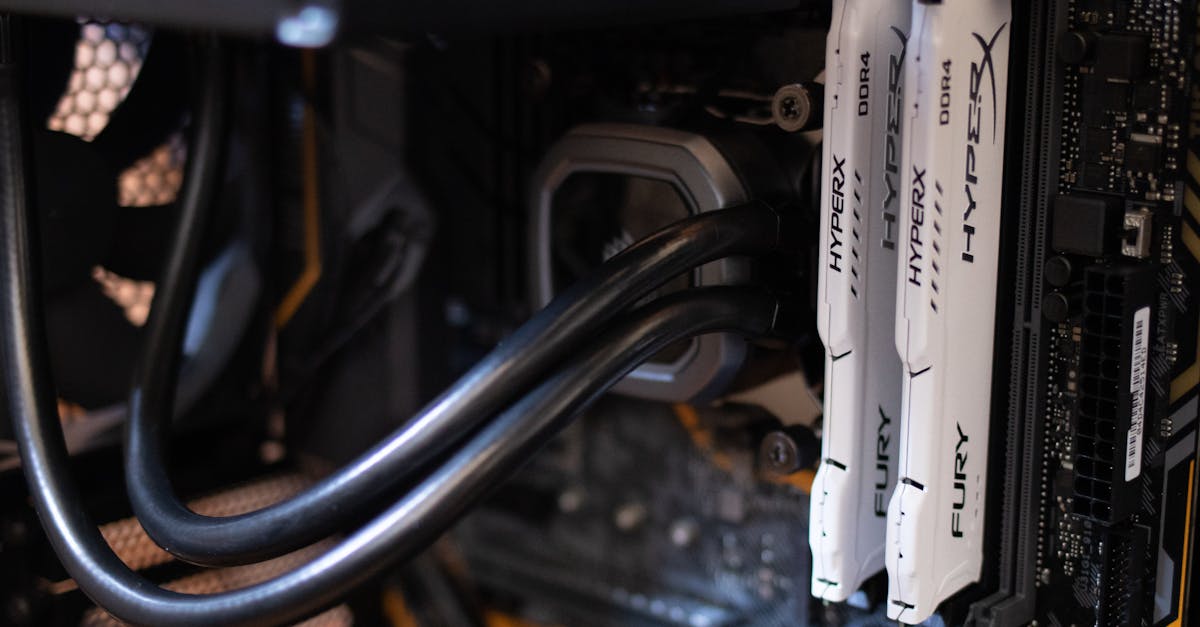
Verifying connections is essential to confirm that all components are securely attached. Begin with power supply cables, ensuring the 24-pin ATX connector and CPU power cable are firmly seated. Check that data cables, such as SATA or M.2 connections, are properly connected to drives. Inspect peripheral connections, including USB, audio, and front panel cables, for secure attachments. Last, ensure that RAM modules lock into place in their slots. This comprehensive verification process ensures optimal performance during the system’s operation.
Powering On the System
Powering on the system tests the motherboard installation’s success. Start by connecting the power supply to an electrical outlet. Press the power button on the case to initiate startup. Observe fans and lights on the motherboard to indicate power. If the system fails to power on, double-check all connections and seating of components. Monitor for system beeps or error codes, which might indicate hardware issues. Successful booting into BIOS reveals a proper installation is complete and functional.
Troubleshooting Common Issues
Troubleshooting common issues can significantly enhance the motherboard installation experience. Addressing potential problems early may save time and prevent further complications.
No Power Issues
No power indicates possible connection errors or hardware malfunctions. Check the 24-pin ATX connector and CPU power cable to make sure they are securely plugged in. Inspect the power supply for functional issues, ensuring it’s switched on and connected to a working outlet. Additionally, confirm that the motherboard’s I/O shield is properly seated, as improper placement can hinder power flow. If issues persist, test the power supply with a multimeter or try a different power supply to rule out hardware failure.
Display Problems
Display problems may arise from incorrect connections or defective components. First, verify that the monitor is powered on and connected to the correct video output port on the motherboard. Check for a loose or damaged video cable, which can cause signal loss. Next, ensure that RAM modules are properly seated in their slots, as unseated RAM can prevent the system from booting. If the monitor still displays no signal, it’s prudent to try a different graphics card or test the system with integrated graphics, if available, to identify the source of the issue.
Conclusion
Installing a motherboard can be a rewarding experience that transforms a collection of components into a fully functional system. With the right tools and a well-prepared workspace anyone can navigate this process with confidence.
By following the outlined steps and maintaining organization throughout the installation users can minimize potential issues and ensure a smoother assembly. Testing the system after installation is crucial for confirming that everything works as intended.
Should challenges arise troubleshooting becomes essential to achieving a successful setup. Embracing these steps not only enhances technical skills but also empowers users to create a high-performance machine tailored to their needs.