

Is your car battery feeling more like a lazy couch potato than a reliable source of power? Don’t worry, you’re not alone. Many drivers face the dreaded moment when their car refuses to start, leaving them feeling like they’re stuck in a bad sitcom. But fear not! Changing a car battery at home is easier than you think and can save you a trip to the mechanic and a hefty bill.
Tools You Will Need
Changing a car battery at home requires specific tools and safety equipment. Gathering the right items beforehand simplifies the process and enhances safety.
Basic Tools
A ratchet wrench set proves essential for loosening and tightening battery terminals. Pliers assist in removing any wiring that might be attached to the battery. A socket or open-end wrench, usually 10mm, is necessary for most battery connections. Additionally, an old towel or cloth helps in handling battery connections and cleaning up potential spills.
Safety Equipment
Safety goggles protect the eyes from potential battery acid leaks. Rubber gloves provide a safeguard against corrosive materials present in batteries. A battery terminal cleaner ensures that terminals stay free from corrosion, promoting better connections. An absorbent mat can catch any spilled liquids, keeping the work area clean and safe.
Preparing Your Vehicle
Preparing the vehicle is crucial for a successful battery change. Before starting, ensure the car is parked on a flat surface away from traffic.
Finding a Suitable Area
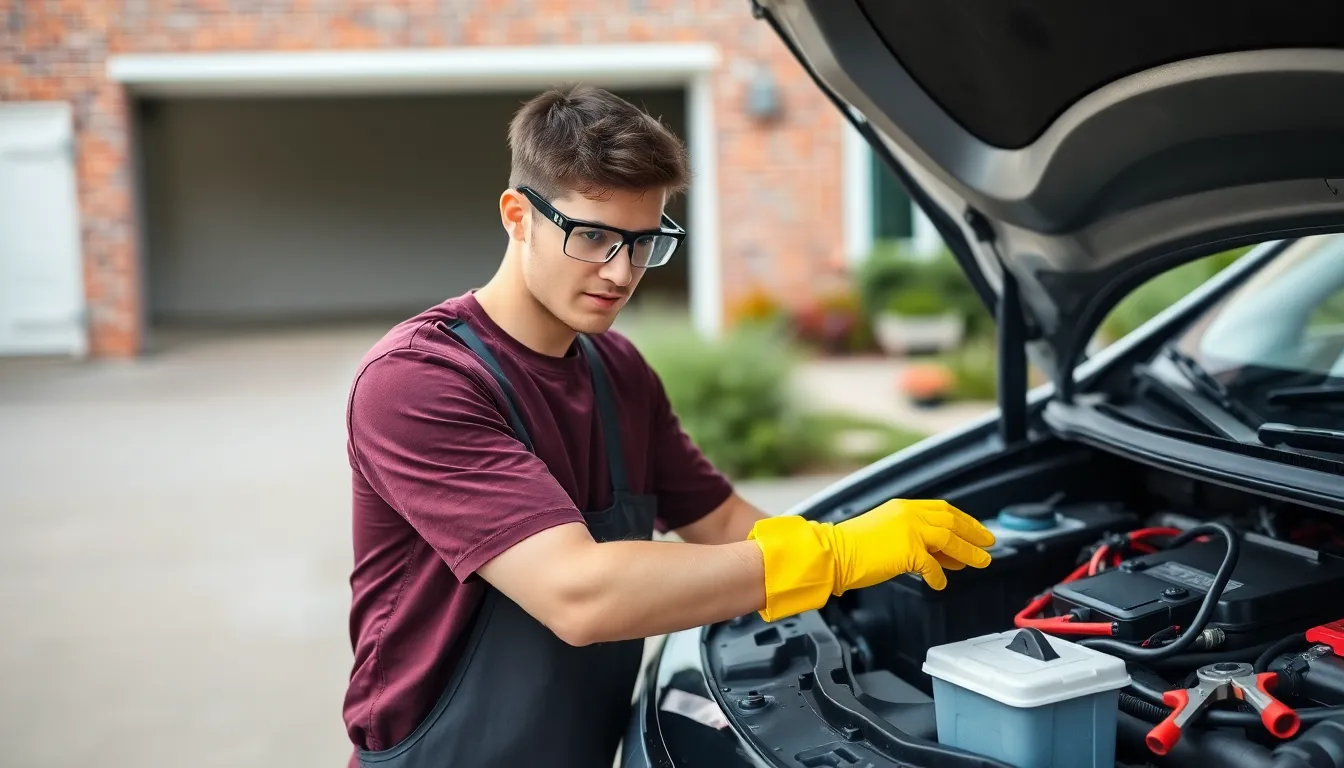
Select a location with adequate ventilation for the battery change. A garage or driveway works well, but avoid crowded or confined spaces. Check the weather as well; extreme temperatures can affect the battery’s performance. If working outdoors, choose a shaded area to prevent overheating. A clean, dry surface helps with tools and components organization.
Ensuring Safety Measures
Wear safety goggles and rubber gloves while handling the battery. Goggles protect eyes from acid splashes; gloves keep hands safe from corrosion and harmful materials. Disconnect the battery terminals in the correct order, always starting with the negative terminal. Use a battery terminal cleaner to remove corrosion and ensure secure connections. Position an absorbent mat beneath the battery to catch any spills that may occur during the swap.
Removing the Old Battery
Removing the old battery involves a few straightforward steps that ensure safety and efficiency. Following the correct procedures makes this task manageable.
Disconnecting the Battery Cables
Disconnect the negative cable first. This reduces the risk of short circuits. Next, remove the positive cable, ensuring no tool touches both terminals simultaneously. Use a battery terminal cleaner to eliminate any corrosion found at the connections. Ensure the cables are secured to avoid accidental contact with the battery terminals during the process. Properly handling these components minimizes potential hazards associated with battery acid leaks.
Removing the Battery Hold-Down
Locate the battery hold-down bracket. Most vehicles have a securing mechanism, such as bolts or clamps, that keeps the battery in place. Use the appropriate socket wrench or pliers to loosen and remove these fasteners. Lift the bracket out carefully, as it might be rusted in place. Once the hold-down is removed, check for any debris around the battery that may obstruct removal. Doing this allows the battery to come out smoothly and safely.
Installing the New Battery
Installing a new car battery requires careful handling and attention to detail. Following established steps ensures a smooth process.
Positioning the New Battery
Place the new battery in the designated compartment, ensuring it fits securely. Align the battery’s terminals with the corresponding cable paths. Confirm the battery is oriented correctly, as improper positioning affects performance. Center the battery within the tray, preventing movement during driving. Ensure that the hold-down bracket aligns with the battery locating tabs for a snug fit.
Connecting the Battery Cables
Begin by connecting the positive terminal first, using a 10mm socket or open-end wrench. Tighten the connection firmly to eliminate the risk of disconnection. Next, attach the negative cable, ensuring it doesn’t touch any metal surfaces. This sequence helps maintain safety by reducing sparks. After securing both cables, double-check their connections to confirm they are tight and free from corrosion. Proper cable management prevents issues during vehicle operation.
Testing the Installation
Testing the installation confirms the new battery operates correctly. Following a few simple steps ensures a reliable connection and functionality.
Checking for Proper Connection
Inspect the battery terminals and ensure they are securely fastened. Positive terminals connect to red cables, while negative terminals connect to black cables. After tightening, look for any signs of corrosion, which can affect performance. A good practice involves giving the cables a gentle tug to verify their stability. Properly connected terminals prevent electrical issues and enhance battery life.
Starting the Vehicle
Turn the ignition key to start the vehicle. A smooth start indicates a successful installation, while unusual sounds may suggest issues. Observe dashboard warning lights; they should behave normally. If the engine cranks sluggishly, inspect connections again for tightness. In cases of persistent problems, consider re-evaluating the battery’s compatibility with the vehicle’s requirements.
Changing a car battery at home can be a rewarding experience that saves time and money. By following the outlined steps and prioritizing safety, anyone can successfully tackle this task. With the right tools and precautions in place, drivers can confidently replace their batteries without relying on a mechanic.
Once the new battery is installed, testing it ensures everything is functioning properly. A smooth start is the ultimate goal. If any issues arise, revisiting the connections and ensuring compatibility is key. Embracing this DIY approach not only empowers drivers but also enhances their understanding of their vehicle’s maintenance.


